
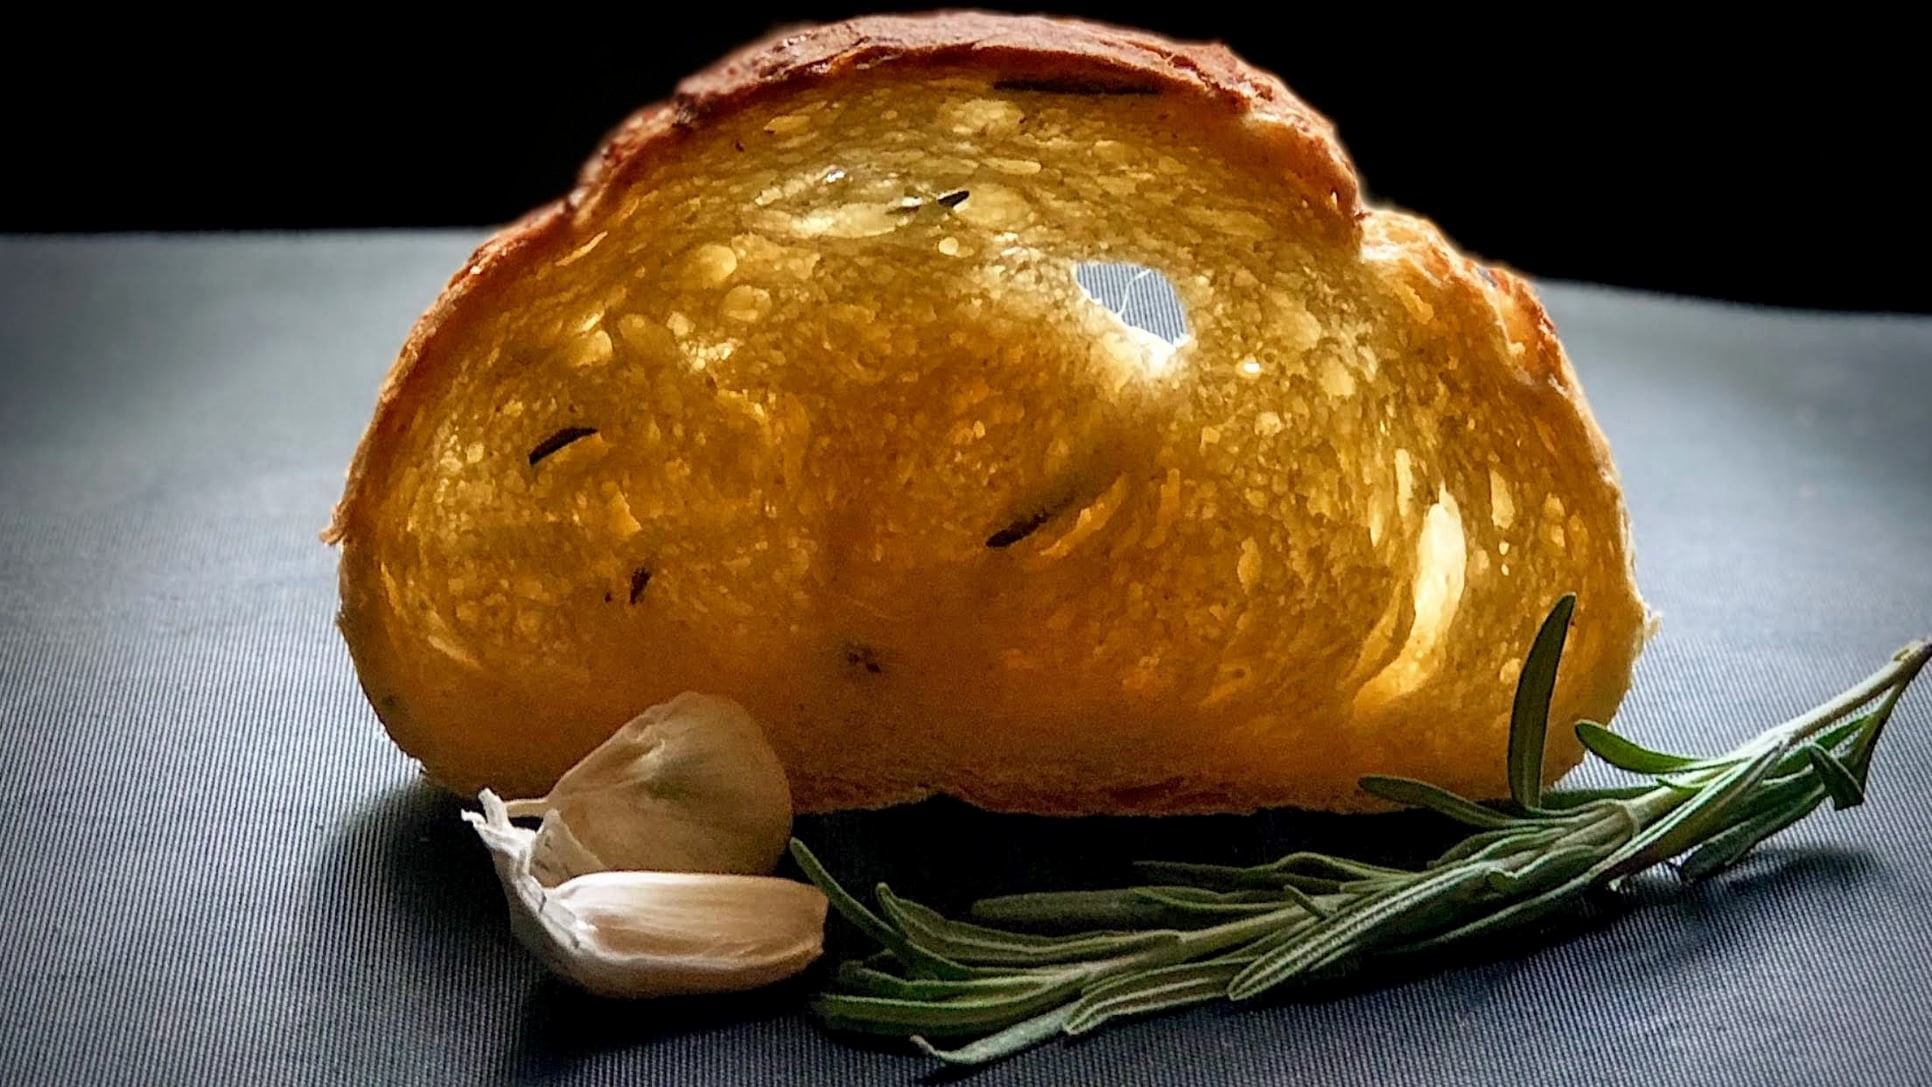
This is a fragrant, artisan-style bread. It is infused with fresh rosemary, roasted garlic, and Parmesan cheese. This bread is one of my best sellers at farmers’ markets.
Introduction
“This Rosemary Garlic Parmesan Bread was always a bestseller at farmers’ markets, holiday events, and even local restaurants.” The reason? Aroma. When customers caught a whiff of the rosemary, roasted garlic, and rich Parmesan, they felt compelled to buy a loaf. They couldn’t resist walking away without one. If they were even a little hungry, that scent was enough. It pushed them over the edge. They had to have it.
This recipe follows a yeasted approach with sourdough-inspired techniques, balancing ease and flexibility. The stretch and folds develop gluten gently, while an optional overnight cold fermentation deepens the flavor. But, unlike sourdough, timing is key since yeast works much faster.
If you are baking for a market, a holiday gathering, or just for yourself. This “Rosemary Garlic Parmesan Bread” is as satisfying to make as it is to eat.

Ingredients
(Yields 2–3 loaves, depending on size)
| Ingredient | Metric | Volume |
|---|---|---|
| King Arthur Unbleached All-Purpose Flour | 900g | 7 ½ cups |
| Lukewarm water (100°F/38°C) | 680g | 3 cups |
| Salt | 18g | 1 tbsp |
| Instant yeast or active dry yeast | 14g | 1 ½ tbsp |
| Fresh rosemary, chopped | 3 sprigs | – |
| Minced garlic | 2 tsp | – |
| Shredded Parmesan cheese | 150g | ~1 cup |
Equipment Needed
- Mixing bowl
- Dutch oven or baking stone
- Bench scraper
- Banneton (or a bowl with a floured cloth)
- Parchment paper
- Dough whisk or stand mixer
- Shower cap or plastic wrap
Method
1. Mixing the Dough (5 minutes)
- In a mixing bowl, combine flour, water, yeast, and salt.
- Mix by hand, using a dough whisk, stand mixer, or large spoon, until all the dry ingredients are fully incorporated. The dough will be shaggy and sticky at this stage, which is normal.
📌 Why wait to add garlic, rosemary & Parmesan?
Adding garlic, rosemary, and Parmesan too early can weaken gluten and interfere with fermentation. These will be folded in later for better structure and even distribution.
2. 30-Minute Rest for Hydration (Autolyse Alternative)
- Cover the bowl and let the dough rest for 30 minutes before moving to stretch and folds.
- This allows the flour to fully absorb water and hydrate, developing gluten strength early.
📌 Why 30 minutes? A full autolyse is unnecessary since we’ve already mixed in yeast and salt. This step balances hydration while preventing over-rising.
3. Stretch & Folds with Additions (2 hours total)
- Stretch and fold #1: Add minced garlic, rosemary, and Parmesan during the first fold.
- Stretch one side of the dough and fold it over. Rotate the bowl. Repeat these steps until you’ve folded the dough from all four sides.
- Rest for 30 minutes.
- Stretch and fold #2: Repeat the folding process to further strengthen the dough.
- Rest for 30 minutes.
- Stretch and fold #3: Final fold, by now, the dough should pass the windowpane test, meaning it stretches thin without tearing.
📌 Tip: If the dough tears during the windowpane test, give it one more 30-minute rest before shaping.
📌 Remember: Wet hands for sticky dough—this helps handle high-hydration dough with ease.
4. Cold Fermentation (Optional for More Flavor)
- Transfer the dough to a lightly greased bowl, cover, and refrigerate for at least 2 hours, up to 48 hours.
- The longer it sits, the more complex and tangy the flavor will be.
📌 Warm vs. Cool Kitchens:
- In a warm kitchen (75°F/24°C and above), dough will rise much faster—watch it closely.
- In a cooler kitchen (below 70°F/21°C), fermentation slows down, giving more control over timing.
5. Shaping the Loaves
- Remove the dough from the fridge and turn it onto a lightly floured surface.
- Gently stretch into a square, removing large air bubbles.
- Divide into 2 or 3 even pieces (use a scale for accuracy).
- Fold each section into thirds, tucking the edges to form a ball. Cover and let rest for 15 minutes.
📌 Why pre-shape? This step relaxes the dough, making final shaping easier.
6. Final Shaping & Proofing (45 minutes – 1 hour)
- Tighten the dough into a firm round shape.
- Place the smooth side down in a well-floured banneton (or a bowl lined with a floured cloth).
- Cover and proof for 45 minutes in the fridge or 30 minutes at room temperature.
📌 Poke Test for Proofing:
- If the indentation springs back quickly, it’s under proofed, wait longer.
- If it barely moves, it’s over proofed, bake right away.
- If it springs back halfway, it’s perfectly proofed.
7. Baking the Loaves (22 to 35 minutes)
- Preheat oven & Dutch oven to 475°F (245°C).
- Turn the dough onto parchment paper, then score the top using a bread lame or sharp knife.
- Lower into the hot Dutch oven (or place on a baking stone).
- Bake covered for 22–25 minutes.
- Remove the lid and continue baking for 12–15 minutes until golden brown.
- Internal temperature should reach 200°F (93°C).
📌 Why bake at 475°F instead of 500°F?
- 475°F gives steady oven spring while preventing excessive browning.
- Keeping the temperature the same after removing the lid allows even baking without risk of burning.
Storage & Serving
- Store at room temperature in a paper bag or bread box for up to 3 days.
- Freeze whole or sliced loaves in a sealed bag for up to 3 months.
📌 Serving Ideas:
- Pair with olive oil & balsamic vinegar.
- Use for sandwiches or toast with butter.
- Serve with soups or pasta.
Nutrition Facts (Per Slice, ~50g)
| Calories | Carbs | Protein | Fat | Fiber |
|---|---|---|---|---|
| 190 | 34g | 6g | 3g | 2g |
Take Your Bread to Market!
If you love baking and want to sell your bread at a farmers’ market, you need more than just a great recipe. You need business skills too. You need more than just baking skills. Success requires extra skills and strategies. From Oven to Market guides you through all aspects. It covers pricing and packaging and helps you create an inviting stall. This encourages customers to keep coming back.
📖 Get your copy here: From Oven to Market

Happy baking, and may your loaves rise high! 🥖✨
Find more recipes like this one on our Baking Great Bread at Home blog. https://bakinggreatbread.blog/?swcfpc=1
“Rosemary Garlic Parmesan Bread”