
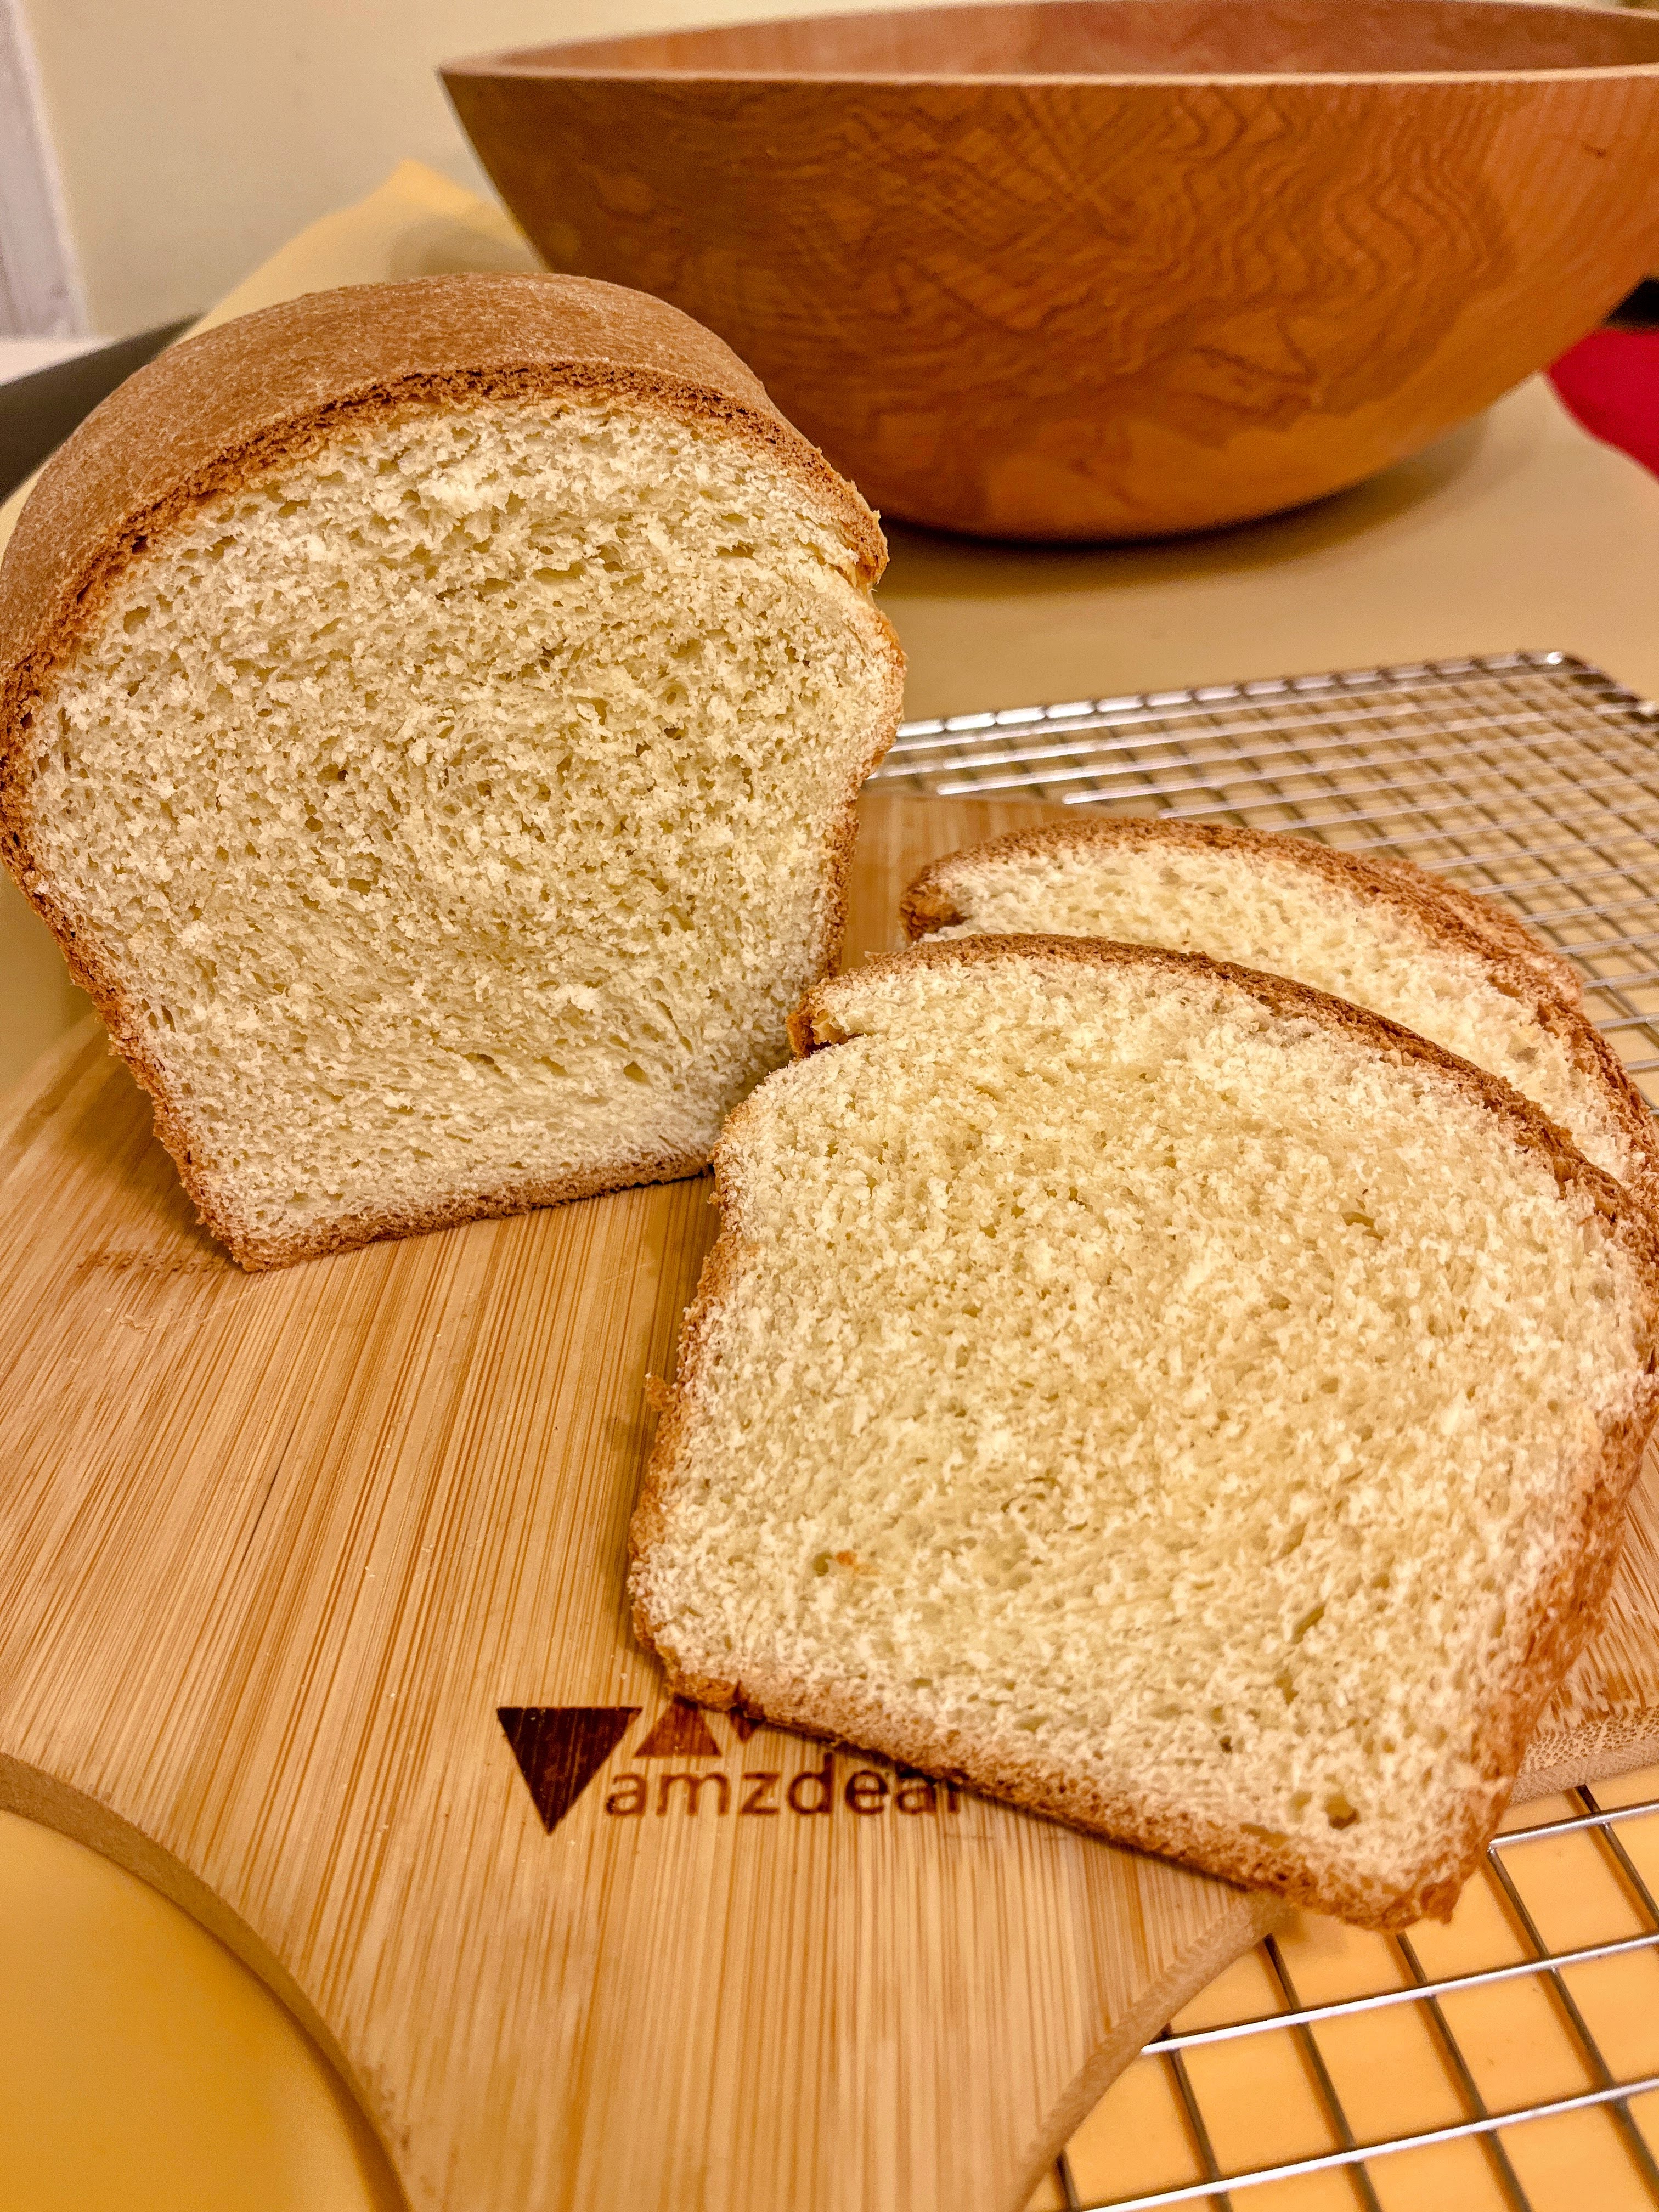
A soft, flavorful whole wheat sandwich bread that’s nutritious, light, and perfect for everyday use.
Introduction
A great sandwich bread should be soft yet sturdy, light but not dry, and flavorful enough to stand on its own. Whole wheat flour adds depth and nutrition, but if not handled well, it can lead to a dense, dry loaf.
This recipe fixes that. By balancing hydration, gluten development, and fermentation, you’ll get a tender, airy loaf with a pleasant chew—perfect for sandwiches, toast, or just a smear of butter.
Let’s break it down step by step, so you not only bake a great loaf but understand why each step matters.
Ingredients
(Makes 1 standard 9×5-inch loaf)
Dry Ingredients
| Ingredient | Metric | Volume (approx.) |
|---|---|---|
| Whole wheat flour | 375g | 3 cups |
| Bread flour (optional, for a lighter texture) | 125g | 1 cup |
| Salt | 10g | 1 ¾ tsp |
| Dry milk powder (optional, for softness) | 2 tbsp | — |
Wet Ingredients
| Ingredient | Metric | Volume (approx.) |
|---|---|---|
| Instant yeast | 7g | 2 ¼ tsp (or 1 packet) |
| (or active dry yeast, proofed in water) | 8g | 2 ½ tsp |
| Warm water (43°C/110°F) | 285g–300g | 1 ⅕ to 1 ¼ cups |
| Honey or sugar | 2 tbsp | — |
| Neutral oil or melted butter | 2 tbsp | — |
Equipment Needed
- Mixing bowl
- Stand mixer with dough hook (optional)
- Bench scraper
- 9×5-inch loaf pan
- Kitchen scale (recommended)
- Instant-read thermometer
Method
1. Activate the Yeast (If Using Active Dry Yeast)
- In a small bowl, mix warm water, honey (or sugar), and yeast.
- Let it sit for 5–10 minutes until foamy. (Skip this step if using instant yeast.)
👉 Why? Proofing active dry yeast ensures it’s alive before mixing. Instant yeast doesn’t need proofing and can be added directly.
2. Mix the Dough
- In a large bowl or stand mixer, combine whole wheat flour, bread flour, salt, and milk powder.
- Add the yeast mixture and oil. Mix until a rough dough forms.
👉 Why? Whole wheat flour absorbs more liquid, so we mix everything together first to ensure even hydration before kneading.
3. Knead the Dough
- By hand: Knead for 6–8 minutes, using a push-and-fold motion.
- Stand mixer: Knead on low speed for 5–6 minutes until smooth and slightly tacky.
- If the dough feels too dry, add a teaspoon of water at a time. If it’s too sticky, add a little flour.
👉 Why? Whole wheat flour contains bran, which can cut gluten strands. Kneading develops structure, but too much can break the gluten down. Keeping it shorter than a white bread knead helps avoid overworking the dough.
4. First Rise (Bulk Fermentation)
- Place the dough in a greased bowl, cover, and let it rise for 60–90 minutes, or until doubled in size.
- If your kitchen is cool (below 70°F/21°C), place the bowl in a slightly warm spot (like an oven with the light on).
👉 Why? This step allows the yeast to produce gas, making the dough rise. But proofing too long can weaken the gluten, causing collapse later.
5. Shape the Loaf
- Lightly flour your work surface and gently turn out the dough.
- Press it into a rough rectangle, about the width of your loaf pan.
- Roll tightly from the short side, pinching the seam closed. Place the dough seam-side down in a greased 9×5-inch loaf pan.
👉 Why? Rolling tightly ensures an even crumb with no large air pockets. Sealing the seam prevents separation during baking.
6. Second Rise
- Cover and let it rise for 30–45 minutes, or until it domes about 1 inch over the pan.
- Press the dough gently—if it springs back slowly, it’s ready to bake.
👉 Why? A slow rise lets the dough trap air without over-expanding. Overproofing makes it fragile and prone to collapse.
7. Bake
- Preheat oven to 190°C (375°F) while the dough is rising.
- Bake for 30–35 minutes, checking at 25 minutes. If the crust is browning too fast, tent with foil for the last 10 minutes.
- The loaf is done when the internal temperature reaches 195°F–200°F (90°C–93°C).
👉 Why? Bread continues cooking after it leaves the oven. Below 195°F, the inside may be gummy.
8. Cool & Store
- Let the bread cool in the pan for 5 minutes, then transfer to a wire rack.
- Wait at least 1 hour before slicing—ideally 2–3 hours for best texture.
- Store at room temperature for up to 4 days or freeze slices for up to 3 months.
👉 Why? Cutting hot bread releases steam, making the crumb gummy. Cooling fully sets the structure.
Troubleshooting & Common Mistakes
| Issue | Cause | Solution |
|---|---|---|
| Dense loaf | Under-kneaded or underproofed | Knead until smooth, and allow full proofing. |
| Crumbly texture | Too much flour, too little water | Use precise measurements; avoid adding excess flour. |
| Loaf collapses | Overproofed | Check dough before baking—don’t let it over-rise. |
| Hard crust | Overbaked | Tent with foil if browning too fast. |
Final Thoughts
This whole wheat sandwich bread is soft, nutritious, and perfect for everyday use. The key is hydration and gluten development—once you master that, you’ll get consistent, delicious results every time.
If you bake this, I’d love to see your results! Share your photos in the Baking Great Bread at Home group, and don’t forget to tag me.
Happy baking!
Nutrition Facts (Per Slice, 1/12 Loaf)
| Calories | Carbs | Protein | Fat | Fiber |
|---|---|---|---|---|
| 160 | 28g | 5g | 3g | 4g |
About Henry Hunter
Henry Hunter is the author of six books on bread, including Sourdough for the Rest of Us and From Oven to Market. He learned to bake challah from a German baker named Herr Sherman during his military service, and now leads the 50,000-member Baking Great Bread at Home community and Crust & Crumb Academy. Perfection is not required. Progress is.
⭐ Crust & Crumb Academy is ProveWorth Certified, rated 5.0 from 61 verified reviews. Read the reviews.
Leave a Reply