
“The Secret to Superior Sourdough Extensibility” 🍞✨
Hello, fellow bread bakers! Henry Hunter here, author of “Vitale Sourdough Mastery” and founder of the Baking Great Bread at Home Facebook group. Today, I want to share some key insights from my sourdough journey that I’ve detailed in my book. Let’s dive into the art and science of creating the perfect sourdough loaf!
The Philosophy of Flour: Building Your Foundation 🌾
In my years of baking, I’ve come to appreciate the profound impact that flour choice has on the final loaf. It’s not just about grabbing whatever’s on the shelf; each type of flour brings its own character to your bread.
- Bread Flour: With its high protein content, bread flour is my go-to for that chewy, artisanal texture we all love. The extra gluten gives your dough the strength it needs for a beautiful rise.
- Whole Wheat Flour: I love incorporating whole wheat for its nutty flavor and nutritional boost. Remember, though, it absorbs more water than white flour, so you’ll need to adjust your hydration.
- Rye Flour: Even a small amount of rye can add incredible depth to your sourdough’s flavor profile. It’s tricky to work with due to its low gluten content, but the results are worth it.
In my book, I encourage bakers to experiment with different combinations. Start with a mix of bread flour and whole wheat, then gradually introduce rye to see how it affects your loaf. The perfect blend is out there waiting for you to discover it!
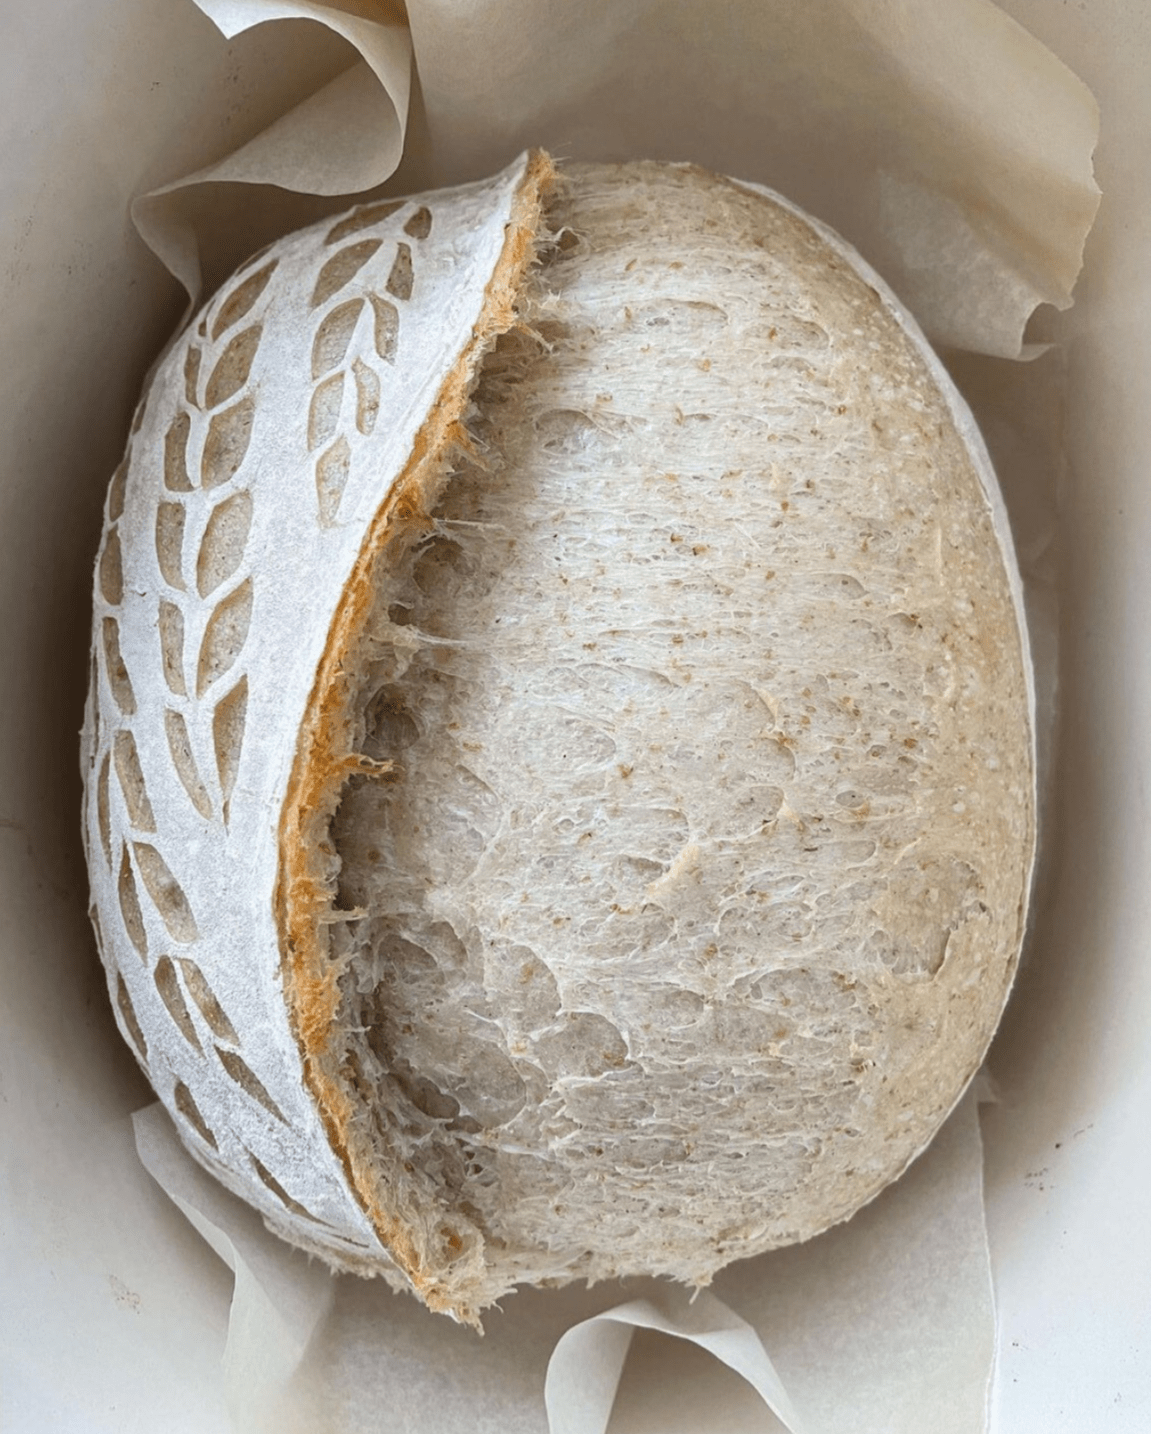
 “A freshly baked sourdough boule, showcasing the dramatic contrast between its golden crust and floury surface.”
Nurturing Your Starter: The Heart of Sourdough 🦠
Your sourdough starter is more than just an ingredient; it’s a living entity that needs care and attention. In “Vitale Sourdough Mastery,” I dive deep into starter maintenance, but here are the key points:
- For daily bakers, feed your starter daily at room temperature.
- If you bake less frequently, store your starter in the fridge and feed weekly.
- If your starter isn’t as active as you’d like, try a few feeds with whole grain flour. The extra nutrients can really perk it up!
Remember, a healthy starter is the foundation of great sourdough. Take care of it, and it will take care of you!
The Fermentolyse Technique: My Game-Changing Method 🔄
In my book, I introduce a technique I’ve been using for years called fermentolyse. It’s a departure from the traditional autolyse method, and it’s revolutionized my baking process. Here’s how it works:
- Mix flour, water, and starter together right from the start.
- Let this mixture rest for 45 minutes to an hour.
- After the rest, incorporate salt by dimpling it in with your fingertips. Use wet hands if the dough is sticky.
- Use the Rubaud mixing method until the dough is smooth and elastic.
- Only then do you begin the folding process.
I discovered this technique when I was baking large quantities of bread. The traditional method was exhausting, but with fermentolyse, I found I could significantly reduce mixing time and effort while improving the dough’s extensibility and elasticity.
This method kickstarts fermentation immediately and enhances overall dough development. It’s been a game-changer in my baking, and I’m confident it can be for you too!
 “Witnessing the incredible extensibility of sourdough after a 45-minute fermentolyse period.”
Mastering Fermentation: The Time and Temperature Dance ⏱️🌡️
Understanding fermentation is key to sourdough mastery. In my book, I delve into the science, but here are the essentials:
- Warmer temperatures speed up fermentation, while cooler temps slow it down.
- A longer, cooler fermentation often results in more complex flavors.
- The sweet spot for most sourdoughs is between 75°F and 80°F (24°C to 27°C).
I encourage you to experiment with different fermentation times and temperatures. Keep notes on how these changes affect your final loaf. This is how you’ll develop your intuition as a baker!
Shaping and Baking: Crafting the Perfect Loaf 👨🍳
The final steps can make or break your loaf – literally! Here are my top tips:
- When shaping, focus on building tension in your dough. This tension helps the dough rise upwards instead of outwards during baking.
- Steam is crucial for the first 10-15 minutes of baking. It allows the bread to rise fully before the crust sets.
- After the initial steam phase, maintain a dry heat for that perfect, crispy crust.
Conclusion: Your Sourdough Journey
Remember, every loaf is a learning experience. Keep experimenting, keep learning, and most importantly, keep baking! If you want to dive deeper into these topics, check out my book “Vitale Sourdough Mastery” on Amazon, and join our Baking Great Bread at Home Facebook group for ongoing discussion and support.
Now, let me leave you with my Foolproof Sourdough recipe. This is the culmination of all the principles we’ve discussed, put into practice. Happy baking, everyone!
 “A cross-section view of my sourdough loaf revealing its beautifully developed open crumb structure.”[/caption]
Henry’s Foolproof Sourdough Recipe 🥖
Ingredients:
- 400g bread flour
- 100g whole wheat flour
- 350g water
- 100g active sourdough starter
- 10g salt
Method:
- Mix flours, water, and starter. Let rest for 1 hour (fermentolyse).
- Add salt, incorporate using the Rubaud method until smooth.
- Perform 4-6 sets of stretch and folds over 2-3 hours.
- Bulk ferment at room temperature for 4-6 hours or until doubled.
- Shape and place in a floured banneton.
- Final proof in the refrigerator for 8-12 hours.
- Preheat oven to 500°F (260°C) with a Dutch oven inside.
- Score the dough and bake covered for 20 minutes, then uncovered for 20-25 minutes until golden brown.
- Cool completely before slicing.
Enjoy your perfectly crafted sourdough loaf!
Don’t forget to subscribe to our blog for more baking insights, and share your sourdough creations with us on social media!
#SourdoughMastery #ArtisanBread #HomeBaking #FermentolyseTechnique

Leave a Reply