
Pre-ferments are pieces of dough that ferment before you mix your final bread dough. They add flavor complexity, improve texture, extend shelf life, and give you more control over your bake. If you’ve ever wondered why bakery bread tastes different from what you make at home, pre-ferments are a big part of the answer.
There are five main pre-ferment methods, each developed by different baking cultures to solve different problems. In this guide, I’ll break down what each one does, when to use it, and how to choose the right one for your bread.

What Is a Pre-Ferment?
A pre-ferment is a mixture of flour, water, and yeast (or wild yeast) that you ferment separately before adding it to your final dough. Think of it as giving part of your dough a head start on fermentation.
During that head start, enzymes break down starches into sugars, yeast produces alcohol and CO2, and bacteria create organic acids. All of these generate flavor compounds that don’t exist in unfermented dough. When you fold this pre-fermented mixture into fresh dough, you’re adding hours or even days of flavor development to a dough that might only bulk ferment for a few hours.
Why Use a Pre-Ferment?
You can make good bread without a pre-ferment. But five specific things improve when you use one:

- Deeper flavor: More fermentation time means more organic acids, alcohols, and amino acids — the building blocks of complex bread flavor.
- Stronger dough: Pre-fermented dough has already developed gluten structure, adding strength to your final mix.
- Better timing control: Instead of depending entirely on room temperature and yeast freshness, you’re adding a known quantity of fermentation activity.
- Longer freshness: Organic acids slow starch retrogradation (staling), and better gluten holds moisture longer.
- Schedule flexibility: Most pre-ferments can be refrigerated, letting you build them when it’s convenient and bake when it’s convenient.
The 5 Pre-Ferment Methods
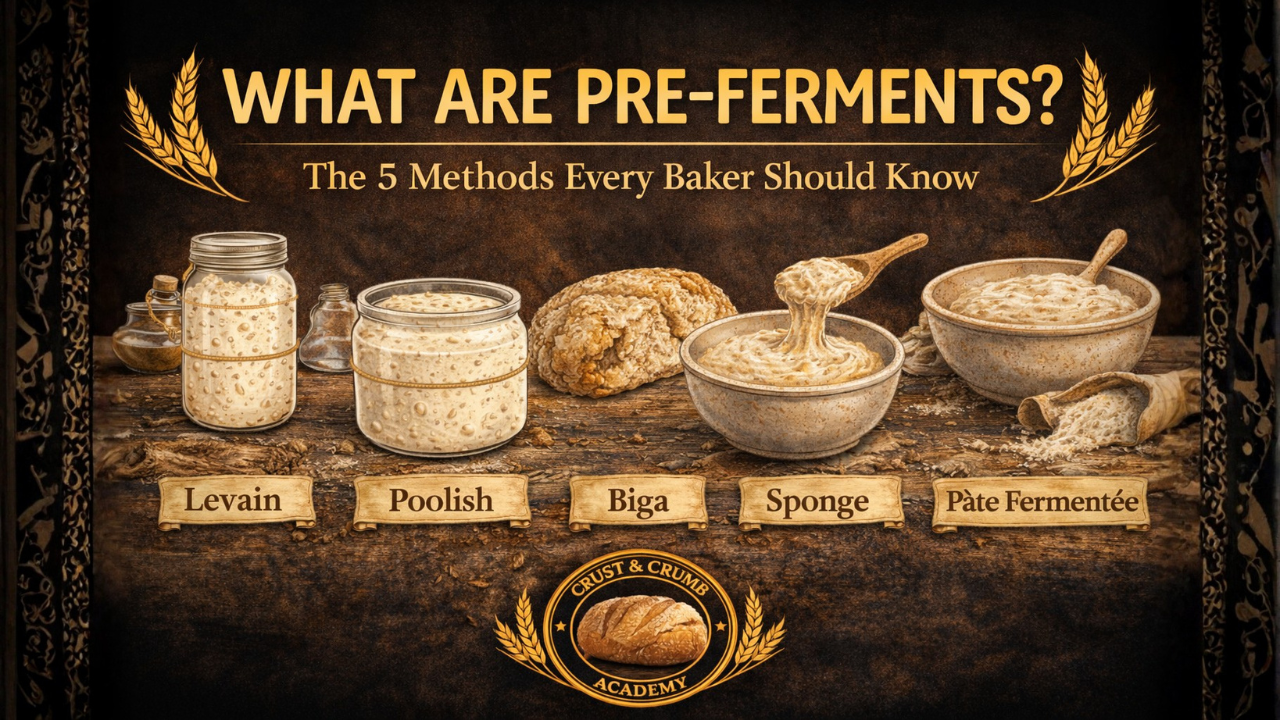
1. Pâte Fermentée (Old Dough)
The oldest method. You save a piece of fully mixed, salted dough from one bake and add it to the next. It’s how bakers carried flavor forward before anyone wrote a formula.

Hydration: Matches your dough (typically 65-70%)
Contains salt: Yes — the only pre-ferment that does
Fermentation time: 1-24 hours (or refrigerated up to 3 days)
Best for: French bread, country loaves, any bread where you want balanced complexity without extra steps
Character: Practical and predictable. Adds subtle depth without dominating the flavor profile.
2. Poolish
A high-hydration pre-ferment made with equal parts flour and water by weight, plus a tiny amount of yeast. Developed in Central Europe and popularized in French baking.

Hydration: 100% (equal parts flour and water)
Contains salt: No
Fermentation time: 8-16 hours at room temperature
Best for: Baguettes, ciabatta, any bread where you want an open crumb and sweet, wheaty flavor
Character: Creates extensibility rather than strength. Produces a slightly sweet, creamy flavor with an open, irregular crumb.
3. Biga
A stiff Italian pre-ferment with low hydration and slow fermentation. Where poolish creates extensibility, biga builds strength.

Hydration: 50-60%
Contains salt: No
Fermentation time: 12-24 hours (often refrigerated)
Best for: Italian breads, focaccia, enriched doughs like panettone that need structural backbone
Character: Nutty, wheaty flavors with a tighter, more even crumb. Adds strength without the tangy acidity of longer fermentation.
4. Sponge
A flexible, variable-hydration pre-ferment common in British and American commercial baking. Uses more yeast than other methods for faster fermentation.

Hydration: Variable (60-100%)
Contains salt: No
Fermentation time: 1-4 hours
Best for: Sandwich bread, soft rolls, enriched doughs, any bread on a tighter production schedule
Character: The workhorse method. Improves dough tolerance and flavor without demanding the long fermentation times of other pre-ferments.
5. Levain
A portion of sourdough starter built specifically for a single bake. Unlike the other four methods, levain uses wild yeast and bacteria rather than commercial yeast.

Hydration: Variable (50-100%, depending on your starter and bread style)
Contains salt: No
Fermentation time: 4-12 hours (depending on starter activity and temperature)
Best for: Sourdough breads, naturally leavened country loaves, any bread where you want the most complex flavor
Character: Produces the deepest, most complex flavors and the longest shelf life. Requires maintaining a living culture, but rewards the effort.
How to Choose the Right Pre-Ferment
The choice depends on three things: what flavor you want, what texture you need, and how much time you have.
Want an open, airy crumb? Poolish. Its high hydration and extensibility create irregular holes.
Need structural strength? Biga. Its low hydration builds dough backbone for enriched or heavy doughs.
Short on time? Sponge. It works in 1-4 hours and still improves your bread noticeably.
Want maximum complexity? Levain. Nothing else builds as many flavor layers.
Want simplicity? Pâte fermentée. Save dough from today’s bake, use it tomorrow. No extra mixing required.
Common Pre-Ferment Mistakes
Skipping it entirely: The biggest mistake is thinking pre-ferments are optional extras. They’re foundational technique.
Over-fermenting: A pre-ferment that’s collapsed and smells like alcohol has gone too far. It will weaken your dough rather than strengthen it. Watch for the peak — domed surface, bubbly throughout, pleasant yeasty aroma.
Wrong temperature: Warmer temperatures speed fermentation. If your kitchen is 80°F and your recipe assumes 70°F, cut the fermentation time or reduce the yeast. Temperature is the invisible variable that controls everything.
Using too much yeast: Pre-ferments use far less yeast than you’d think. A poolish for 500g of flour might use 1/8 teaspoon of instant yeast. More yeast means faster fermentation, which means less flavor development.

Frequently Asked Questions
What is the easiest pre-ferment for beginners?
Pâte fermentée (old dough) is the simplest starting point because you just save a piece of dough from your current bake. No extra mixing or special ratios required. Poolish is the second easiest — equal parts flour and water plus a pinch of yeast, left overnight.
Can I substitute one pre-ferment for another in a recipe?
Yes, but expect different results. You can swap poolish for biga or vice versa, but you’ll need to adjust the hydration in your final dough to compensate. A poolish adds more water to your dough than a biga does. The flavor and texture will also shift — poolish gives extensibility and open crumb, biga gives strength and tighter structure.
How do I know when my pre-ferment is ready to use?
A ripe pre-ferment will have risen noticeably (usually doubled or more), show bubbles on the surface and throughout, have a pleasant yeasty or slightly tangy aroma, and just barely start to dome or flatten on top. If it has collapsed and smells strongly of alcohol, it has over-fermented and will weaken your final dough.
