
In loving memory of Paul (“Bald Baker Paul”) who shared this treasured recipe with our community
The Story Behind the Recipe
We all have that special memory in baking. This one comes from Friday nights after school. We returned home with friends in tow because they knew it was doughnut night. The kitchen like a sauna, the smell of yeast in the air, hot dough frying in the deep fat fryer. Those doughnuts were only seconds out of the pan. We burnt our lips trying to eat them. We were too impatient to wait for them to cool down.
Even today, if I smell doughnuts cooking, that memory comes flooding back. This recipe, shared by Paul (“Bald Baker Paul”), captures that same magic. These are literally the best tasting and lightest doughnuts I’ve tried since then. The credit goes to Paul and the talented bakers who perfected this technique.
Did you know? The history of the doughnut is generally traced to Dutch immigrants in 17th and 18th-century New York. At that time, the area was known as New Netherland. They prepared fried dough balls called olie koeken or olykoeks. Olie koeken means “oil cakes.”

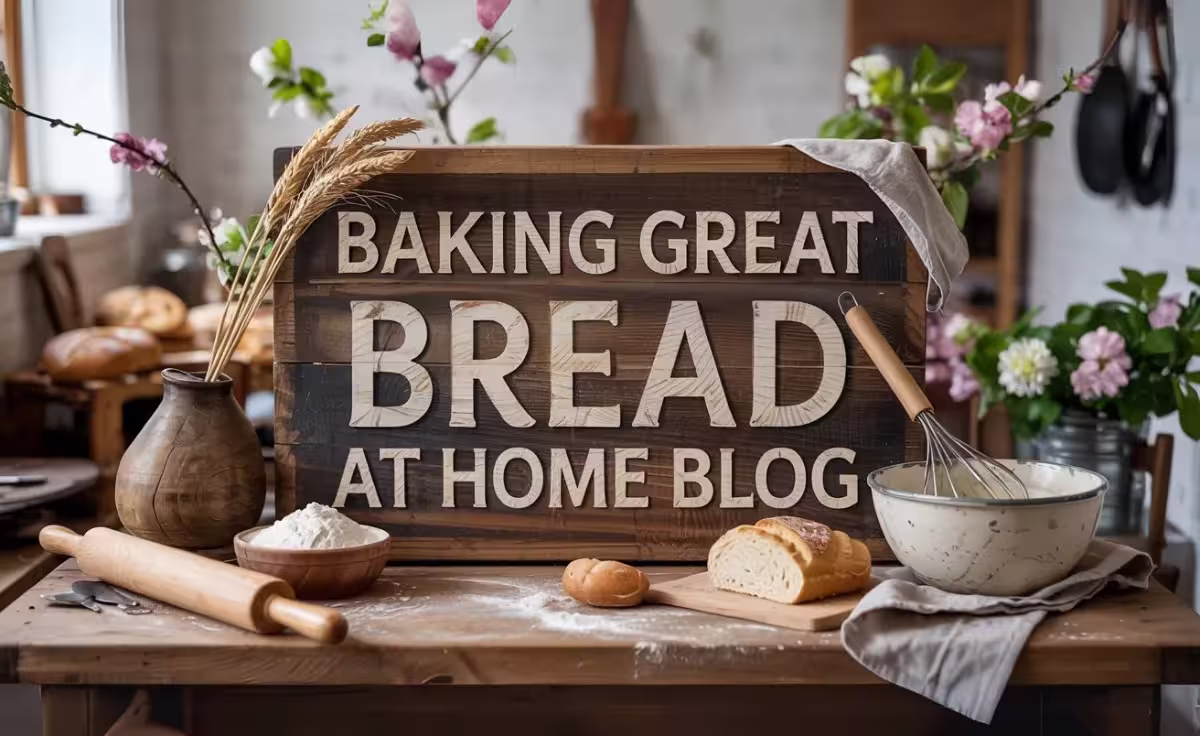
20 Perfect Yeasted Doughnuts Recipe
Prep Time: 30 minutes
Rising Time: 4+ hours (plus overnight chill)
Cook Time: 20 minutes
Total Time: 6+ hours
Yield: About 20 doughnuts
Ingredients
For the Dough:
- 500g (4 cups) strong white bread flour
- 60g (¼ cup) caster sugar
- 10g (2 tsp) fine sea salt
- 15g fresh yeast (or 8g instant dried yeast)
- 4 large eggs (about 200g total)
- Zest of ½ lemon
- 150g (⅔ cup) cold water
- 125g (½ cup) unsalted butter, softened
For Frying and Finishing:
- About 2 litres sunflower oil, for deep-frying
- Caster sugar, for tossing
Equipment
- Stand mixer with dough hook (optional)
- Deep-fat fryer or heavy-based saucepan
- Kitchen thermometer
- Pastry scraper
- Kitchen paper
- Baking trays
Instructions
Day One: Make the Dough
- Mix the base dough: Bring all dough ingredients except butter together in a bowl. Tip onto the table and, using the heel of your hand, stretch and tear for 8 minutes. (If using a stand mixer, combine ingredients in the bowl with beater attachment and mix on medium speed for 8 minutes until dough starts coming away from sides.)
- Rest: Let the dough rest for 1 minute. The mixer needs this break too if you’re using one.
- Add butter gradually: Continue stretching and tearing, adding butter 25g at a time until fully incorporated. Work for another 5 minutes until dough is glossy, smooth, and very elastic. (In mixer: Add butter slowly while mixing on medium, then beat on high for 5 minutes once incorporated.)
- First rise: Return dough to bowl, cover with cling film, and prove until doubled in size.
- Overnight chill: Knock back the dough, re-cover, and refrigerate overnight.
Day Two: Shape and Fry
- Portion and shape: Remove dough from fridge and divide into 50g pieces (about 20). Roll into smooth, tight buns and place on floured baking tray with plenty of space between them.
- Final proof: Cover lightly with cling film and prove for about 4 hours until doubled in size.
- Heat oil: Prepare deep-fat fryer or fill heavy saucepan halfway with oil. Heat to exactly 180°C (356°F). This temperature is critical for proper cooking.
- Fry carefully: Using a floured pastry scraper, carefully transfer 2-3 doughnuts to oil without deflating. Fry 2 minutes per side until golden brown. They’ll puff and float, so gently push down after a minute for even coloring.
- Finish: Remove to kitchen paper, then immediately toss in caster sugar while warm. Check oil temperature before each batch.
- Cool before filling: Let doughnuts cool completely before filling with your choice of cream or jam.
Baker’s Notes
“Homemade Doughnut Tips”
- Temperature matters: Oil that’s too hot burns the outside while leaving the center raw. Too cool and they’ll absorb oil and become greasy.
- Don’t rush the proof: That overnight chill and long final proof develop incredible flavor and texture.
- Handle gently: When moving proved doughnuts to oil, use a light touch to maintain their airy structure.
- Fill creatively: Try Eton mess, crème pâtissière, or your favorite jam.
This recipe is shared in loving memory of Paul. He was known as “Bald Baker Paul.” Paul believed that the best recipes come with stories attached. Share your own #BakeAMemory – what baking memory means the most to you?