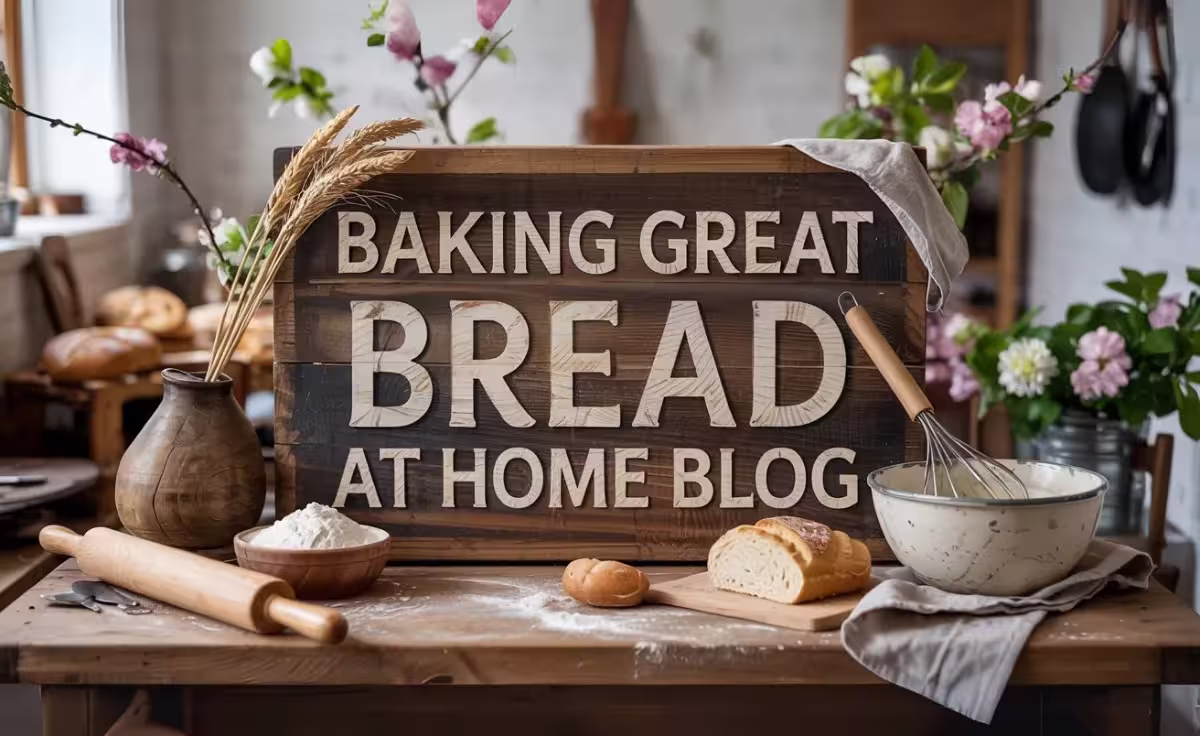

Reading Yeasted Dough, the Right Way
If you’ve ever stared at a bowl of dough waiting for it to “double,” you’re not alone. But here’s the truth: proofing isn’t about the clock. It’s about learning to read the signs—signs your dough is alive, expanding, and ready for the oven.
This guide is for bakers working with yeasted doughs—think brioche, sandwich loaves, cinnamon rolls, dinner rolls. Let’s move beyond timers and learn how to recognize when your dough is truly ready.

What Is Proofing? (And How It Differs from Bulk Fermentation)
Proofing is the final rise that happens after shaping, just before baking. It’s not the same as bulk fermentation, which is the first rise after mixing.
Here’s how different types of yeast behave during this stage:
- Instant yeast: Works quickly, offers predictable results
- Active dry yeast: Slower to activate, but consistent
- Fresh yeast: Fast and vigorous at room temp, but loses strength faster
This isn’t sourdough, its commercial yeast, and it plays by different rules.
Why Proofing Matters
Nail your proof and you’ll get oven spring, a light crumb, and a balanced crust. Miss it, and here’s what happens:
- Overproofed dough: Slack, fragile, deflates in the oven, creates large tunnels at the top
- Underproofed dough: Tight, blows out unexpectedly, results in dense crumb
- Properly proofed dough: Balanced tension, slow recovery from poke, bakes up full and even

How to Know When It’s Ready
Forget “double in size.” That’s vague and often wrong. Here’s what you should look for:
🫧 Puffy & Relaxed
Shaped dough should become visibly rounder and expanded. It will look fuller and slightly jiggly.
👆 Poke Test
Gently press a floured finger into the dough. If the indentation springs back slowly and halfway, you’re there.
Too quick? Needs more time. Doesn’t bounce back at all? It’s over proofed.
🧈 Enriched Doughs Behave Differently
Brioche, cinnamon rolls, and other rich doughs (loaded with butter or sugar) rise more slowly. They may feel firmer to the touch and show less dramatic puffing, but the poke test still works.

Creating the Right Proofing Environment
Temperature is everything. Yeast is sensitive and inconsistent temps can lead to inconsistent results.
- Ideal range: 68–75°F (20–24°C)
- Higher temps = faster proof (but less flavor)
- Lower temps = slower proof (can lead to under proofing if rushed)
Enriched doughs proof slower by nature, since fat and sugar weigh down the yeast’s activity.
I use a Brød & Taylor Folding Proofer to maintain consistency—it’s been a game-changer for my results and my teaching. Before that, I made do with the oven light trick or placing dough near the top of the fridge.

Tools That Make Proofing Easier
After years in the kitchen and hundreds of questions from the community, here’s what helps most:
- Brød & Taylor Folding Proofer – total control over your environment
- Clear containers – see your dough’s expansion from every angle
- Shower caps or silicone lids – no more dry dough skin
- Your hands – your most reliable tool is still your own sense of touch
My Foolproof Method for Yeasted Proofing
Here’s how I teach it:
- Note what your shaped dough looks like at the start
- Set a timer for 75% of the suggested proofing time—not to finish, just to check
- Perform the poke test
- Look for puffiness, roundness, and that subtle jiggle
- Trust the dough, not the instructions
Recipes are written for someone else’s kitchen. Your dough is proofing in yours.

Learn to Read Your Dough, Not Just Your Recipe
Proofing isn’t a timer—it’s a relationship with your dough.
Not sure if yours is ready? Take a photo, post in the group, and tag it #Foolproof. We’ll help you read what your dough is saying.
Want more consistency in your kitchen? I recommend the Brød & Taylor Folding Proofer & Slow Cooker. It takes the guesswork out of every season and gives me the same results whether I’m baking in July or January.
Great bread starts with great attention. The more you watch your dough, the better baker you become.
Happy baking,
– Henry